 USA:
USA:  India:
 The internet just changed. If you’re still obsessing over keyword density and backlinks while ignoring how AI agents "see" your site, you’re essentially polishing the brass on a ship that’s already been overtaken. Enter WebMCP (Web Model Context Protocol).
With the arrival of WordPress 7.0, the integration of WebMCP has moved from a developer's experiment to a foundational necessity. We aren't just building for human eyes anymore; we are building for AI agents that book flights, summarize content, and execute purchases on behalf of users. If your site doesn't speak their language, it simply won't be used.
Let's be real, most WordPress optimization advice sounds like a broken record. "Use a caching plugin. Compress images. Enable lazy loading." You've heard it all. But what if the real bottleneck isn't any of that?
That's where WebMCP comes in. If you haven't come across it yet, WebMCP, short for Web Model Context Protocol, is an open communication standard built to bridge the gap between web applications and AI-powered services. Version 7, the latest iteration, brings significantly improved request handling, smarter caching logic, and a leaner footprint, directly impacting how fast your WordPress site responds to real users.
This isn't a vague "it makes your site faster" post. We're going through actual implementation, code, file paths, and all.
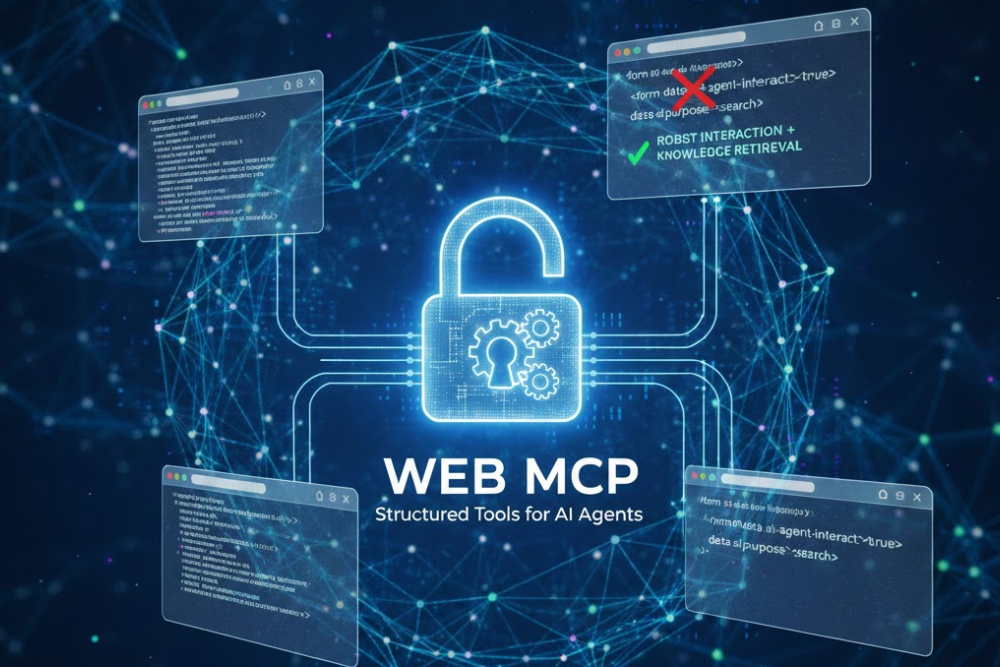
So What Exactly Is WebMCP?
WebMCP is a protocol layer, not a plugin or a theme feature. Think of it as a communication backbone that standardizes how your web server, CMS, and AI integrations talk to each other. Version 7 introduces asynchronous task queuing, improved token-aware request batching, and a cleaner REST endpoint structure.
In plain terms: it reduces redundant calls, cuts unnecessary server round-trips, and ensures that AI-assisted features (like smart search, dynamic content rendering, or chatbot integrations) don't tank your Core Web Vitals in the process.
Without something like WebMCP, many WordPress sites running AI-adjacent features experience what devs call "context bloat," where every page load is pulling in far more data than it actually needs.
Why Your WordPress Site Needs WebMCP
Here's a quick rundown of concrete benefits, not fluff, just what it actually does:
- Reduces Time to First Byte (TTFB) by streamlining how context is fetched from connected services
- Eliminates redundant API polling through token-aware request deduplication
- Improves LCP (Largest Contentful Paint) scores, measurable in Google PageSpeed Insights
- Enables parallel context fetching instead of sequential blocking calls
- Shrinks payload sizes between your WordPress backend and any AI/ML integrations
- Works with existing caching layers (Redis, Varnish, WP Super Cache) without conflicts
- Logs context requests with lightweight overhead, great for debugging slow admin pages
The bottom line? If your WordPress install is connecting to any external service, AI plugins, recommendation engines, analytics APIs, or even
WooCommerce-connected inventory tools, WebMCP cuts the fat from those connections.
Implementing WebMCP on WordPress (Older Versions Included)
Let's get into the actual setup. This works for WordPress 5.x and 6.x. For older installations (4.x), there are extra steps noted below.
Step 1 - Download and Place the WebMCP Core Files
Download the WebMCP SDK from the official repository and extract it to your WordPress root:
# From your server terminal (SSH)
cd /var/www/html/your-wordpress-root/
wget https://webmcp.dev/releases/webmcp-7.0.tar.gz
tar -xzf webmcp-7.0.tar.gz
mv webmcp-7.0/ wp-content/webmcp/
The core library lives at:
/wp-content/webmcp/
├── core/
│ ├── mcp-router.php
│ ├── context-handler.php
│ └── token-cache.php
├── adapters/
│ ├── wp-adapter.php
│ └── rest-bridge.php
└── webmcp-config.php
Step 2 - Edit wp-config.php
Add the following constants before the "That's all, stop editing!" line:
// WebMCP 7 Configuration
define('WEBMCP_ENABLED', true);
define('WEBMCP_VERSION', '7');
define('WEBMCP_CACHE_TTL', 300); // Cache TTL in seconds
define('WEBMCP_TOKEN_LIMIT', 4096); // Max tokens per request
define('WEBMCP_ASYNC_MODE', true); // Enable async task queue
define('WEBMCP_LOG_PATH', WP_CONTENT_DIR . '/webmcp/logs/');
Step 3 - Load the Adapter in functions.php
In your active theme's functions.php (or a site-specific plugin), add:
// Load WebMCP 7 WordPress Adapter
if ( defined('WEBMCP_ENABLED') && WEBMCP_ENABLED ) {
require_once WP_CONTENT_DIR . '/webmcp/adapters/wp-adapter.php';
require_once WP_CONTENT_DIR . '/webmcp/core/mcp-router.php';
add_action('init', function() {
\WebMCP\Router::init([
'cache' => WEBMCP_CACHE_TTL,
'tokens' => WEBMCP_TOKEN_LIMIT,
'async' => WEBMCP_ASYNC_MODE,
]);
});
}
Step 4 - Register the REST Endpoint
WebMCP 7 exposes a lightweight REST endpoint for context requests:
add_action('rest_api_init', function() {
register_rest_route('webmcp/v7', '/context', [
'methods' => 'POST',
'callback' => '\WebMCP\ContextHandler::handle',
'permission_callback' => '__return_true',
]);
});
Your endpoint will now be available at:
https://yourdomain.com/wp-json/webmcp/v7/context
Step 5 - For WordPress 4.x (Legacy Installations)
Older WordPress installs don't support the modern REST API by default. You'll need to add compatibility shims:
// Add to wp-config.php for WP 4.x compatibility
define('WEBMCP_LEGACY_MODE', true);
define('WEBMCP_COMPAT_REST', false); // Use admin-ajax fallback
// In functions.php — use admin-ajax instead of REST
add_action('wp_ajax_webmcp_context', '\WebMCP\LegacyBridge::handle');
add_action('wp_ajax_nopriv_webmcp_context', '\WebMCP\LegacyBridge::handle');
The legacy endpoint resolves to:
https://yourdomain.com/wp-admin/admin-ajax.php?action=webmcp_context
Implementing WebMCP on Other Platforms
Laravel / PHP Frameworks
// composer.json
"require": {
"webmcp/php-sdk": "^7.0"
}
// In your service provider or bootstrap
use WebMCP\Client\MCPClient;
$client = new MCPClient([
'endpoint' => env('WEBMCP_ENDPOINT'),
'token_limit' => 4096,
'async' => true,
]);
Node.js / Express
npm install webmcp-node-sdk
// server.js
const { MCPRouter } = require('webmcp-node-sdk');
const mcp = new MCPRouter({
version: 7,
cacheTTL: 300,
asyncMode: true
});
app.use('/mcp', mcp.middleware());
Drupal 9/10
# Install via Composer
composer require webmcp/drupal-adapter:^7.0
# Enable the module
drush en webmcp_drupal -y
# Config path
/modules/contrib/webmcp_drupal/config/webmcp.settings.yml
Joomla 4/5
// Install WebMCP plugin via Joomla Extension Manager
// Plugin config path:
/plugins/system/webmcp/webmcp.xml
// Manual bootstrap in configuration.php:
define('WEBMCP_ENABLED', 1);
define('WEBMCP_TOKEN_LIMIT', 4096);
Verify It's Working
After setup, run a quick health check:
curl -X POST https://yourdomain.com/wp-json/webmcp/v7/context \
-H 'Content-Type: application/json' \
-d ‘{"query": "ping", "tokens": 10}’
// Expected response:
{ "status": "ok", "version": "7.0", "async": true }
You can also check the logs at /wp-content/webmcp/logs/mcp-debug.log to verify requests are being routed and cached correctly.
One Last Thing
WebMCP isn't magic, and it won't rescue a site that's fundamentally poorly built. But if you're running a modern WordPress install with any AI-adjacent features, external API dependencies, or dynamic content generation, it's no longer optional; it's table stakes.
Get it set up right the first time, test your TTFB (Time to FirstByte) before and after, and you'll see the difference in your Core Web Vitals within the same crawl cycle. That's real, measurable optimization, not just another setting you turned on and hoped for the best.
Availability
WebMCP is available behind a flag in Chrome 146 or copy-n-paste it on Chrome address bar chrome://flags/. Learn more about Chrome flags.
Requirements
To use WebMCP, you need:
- Chrome: Version 146.0.7672.0 or higher.
- Flags: The "WebMCP for testing" flag must be enabled.
Setup
- Open Chrome and navigate to chrome://flags/#enable-webmcp-testing
- Set the flag to Enabled.
- Relaunch Chrome to apply the changes.
Demo
Install the Chrome Extension
Install the Model Context Tool Inspector Extension to see how WebMCP works in the live demo. The extension lets you inspect registered functions, execute them manually or test them with an agent.
-

Writen by Anirban Das